ONE OF THE INCESSANT THINGS WHEN WE USE CLOUD PROVIDERS, IT’S HOW TO HAVE THE BIGGEST EFFICIENCY WITH OUR RESOURCES. IF YOU HAVE AZURE VIRTUAL MACHINES, FOR EXAMPLE, REDUCE THE TIME OF NON-PRODUCTION ENVIRONMENTS STAYS TURNED ON TO 12 HOURS AT WEEKDAYS CAN REDUCE YOUR BILL BY 67%.
Save Money with Azure: Handling your resources with Azure Functions
In fact, when a VM is created, there is an option for shutdown within the scheduled time, but it’s a bit limited, due to nonexistence of an option to startup the VMs, nor the option to do this for dependent VMs as a Domain Controller that should be online when the other VMs start.
A good, simple, and cheaper solution for this, is to use an Azure Function to startup and shutdown the Virtual Machines. So let’s see how we can do it!
What you will need:
- Azure Account
- Visual Studio Code
- VS Code — Azure Functions Plugin
- An Azure Virtual Machine
Preparing the Virtual Machine
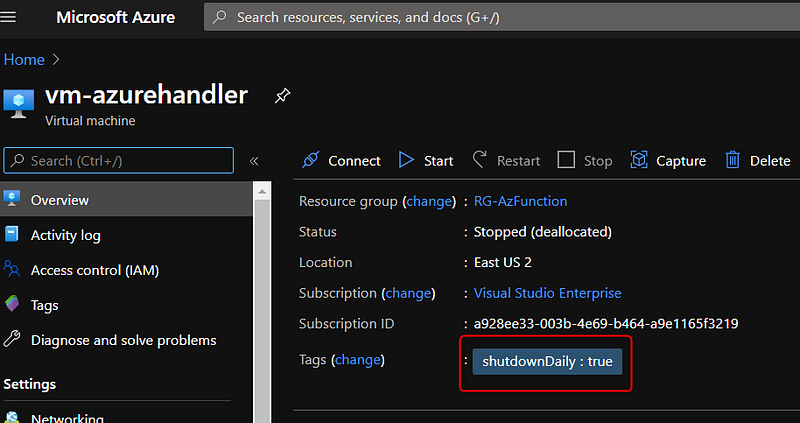
Now we need to create a beacon in the VMs that we need to shutdown/startup. For this function, we’ll use a tag shutdownDaily with the value true. Later we will filter the VMs with this tag and shut it down in the function script.
Creating the shutdown function.
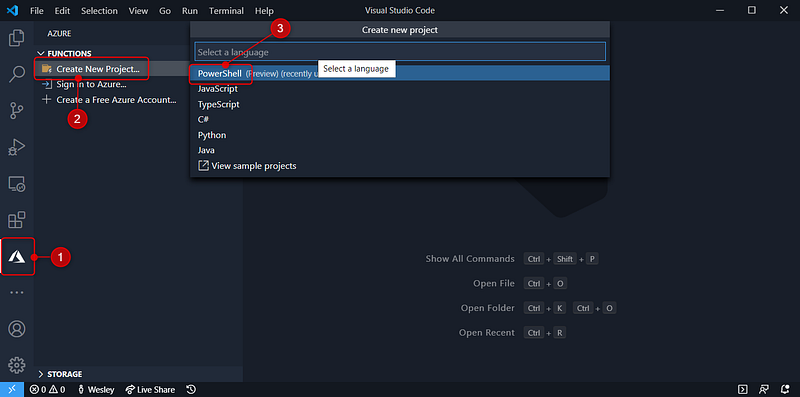
Open the Visual Studio Code, and create a new Powershell Function:
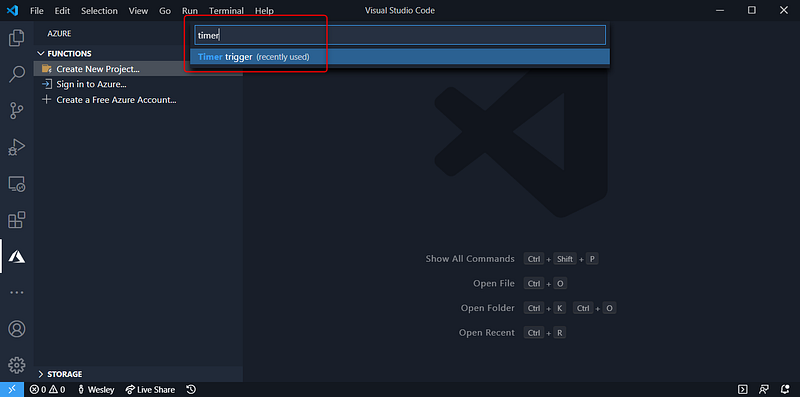
Select the Timer Function option and give a name to the function:
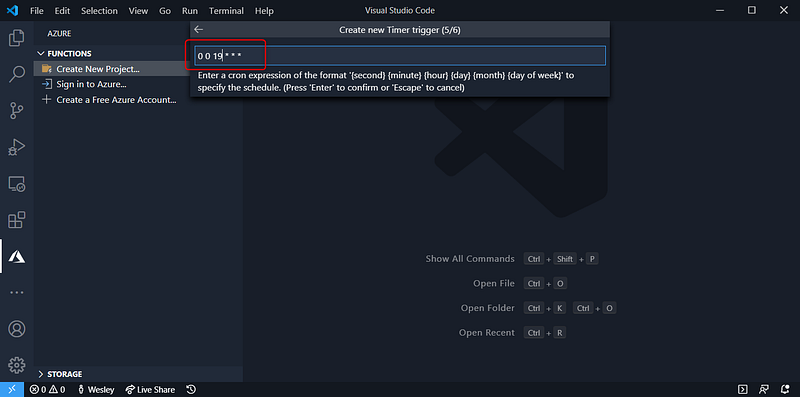
Now we need to define how often the function will be executed. Here we will execute every day at 7 PM.
The Azure Functions use cron expression to define the frequency. (You can have more information here)
It will create a basic function based on a template. We just need to keep the parameter $Timer.
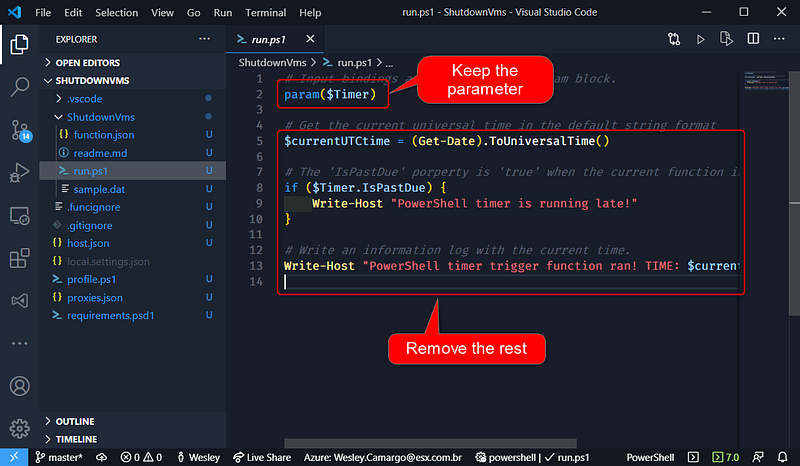
For ease, you can replace all code with the block below:
Publishing the function on Azure
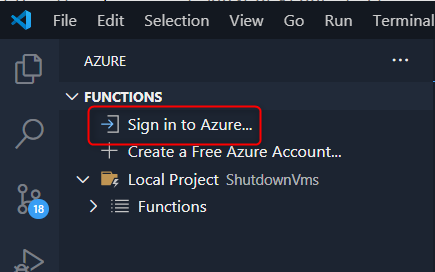
Now let’s publish the function on Azure Account.
First Sign in to Azure. It will redirect you to a Microsoft Login Screen in your browser. Enter your credentials and go back to Visual Studio Code.
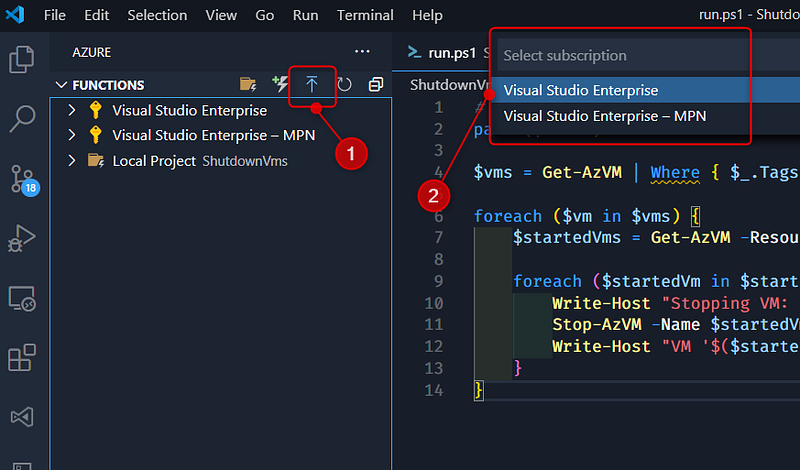
Click in the Upload Icon, and select the desired subscription to deploy:
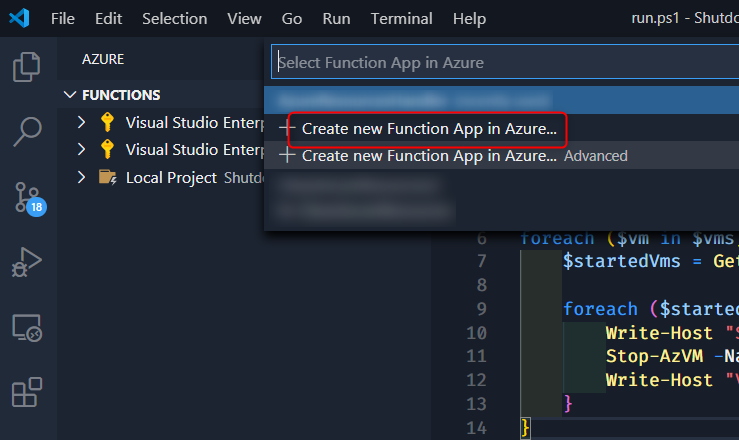
Now create a new function, give a name, and select the region. It will create all resources with this name. If you need to change something, use the advanced mode. After creation it will deploy the code automatically:
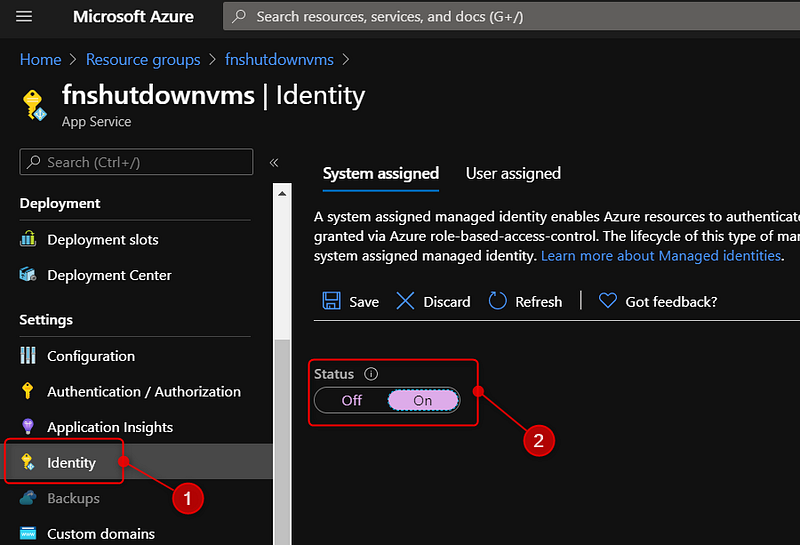
Given permissions to the function
After creating the function, we need to authorize it to manipulate Azure Resources. On function Settings, open Identity menu and change the status to On and save this.
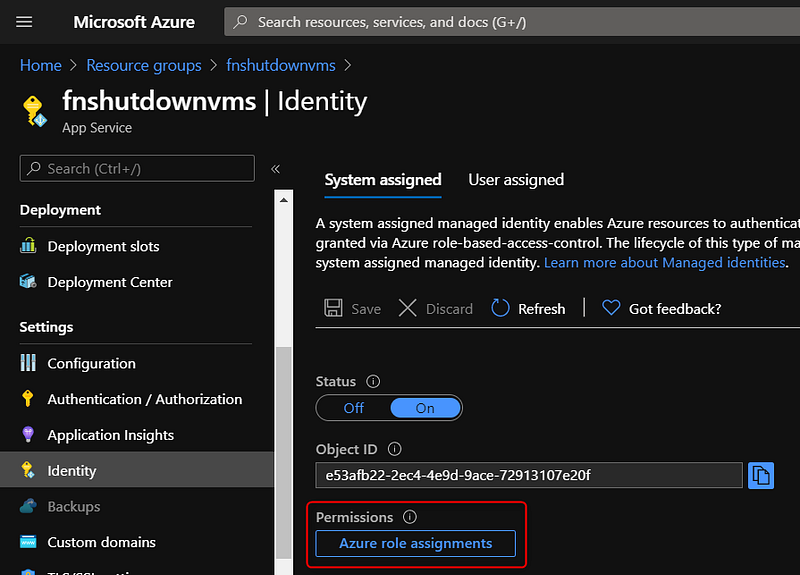
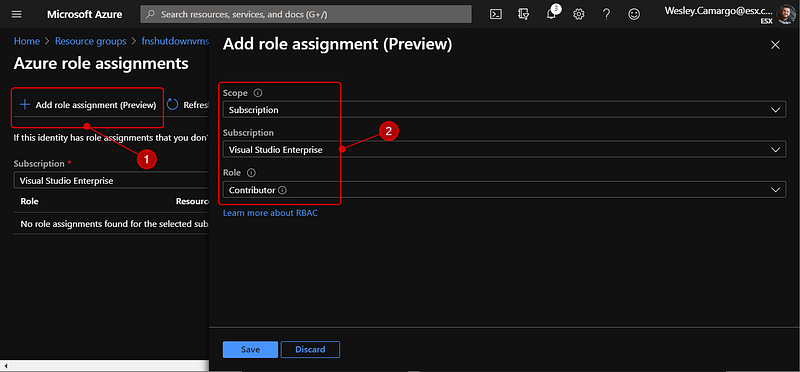
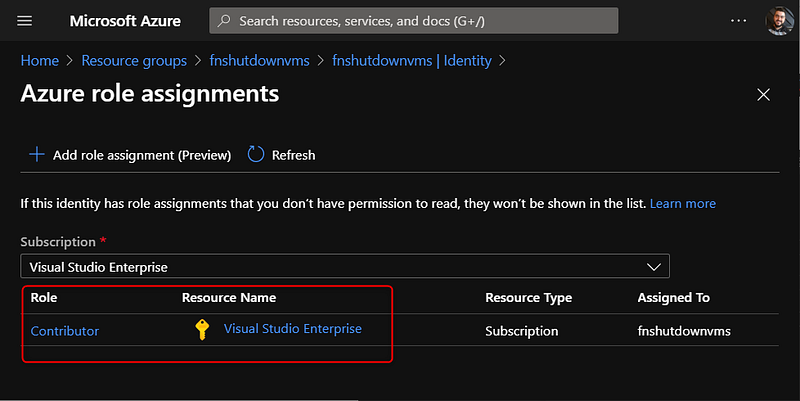
It will enable Azure role assignments button, touch this, and Add role assignment. Here I’ll create permission as a contributor int the subscription, but use the best approach to your environment:
Testing the function
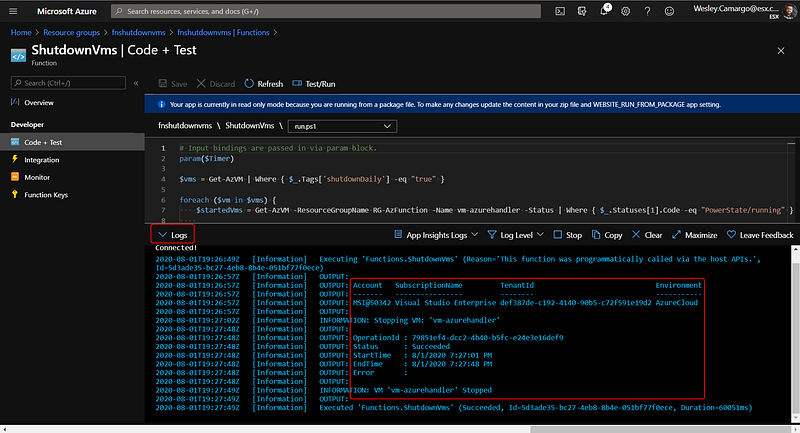
To test the function open it and run:
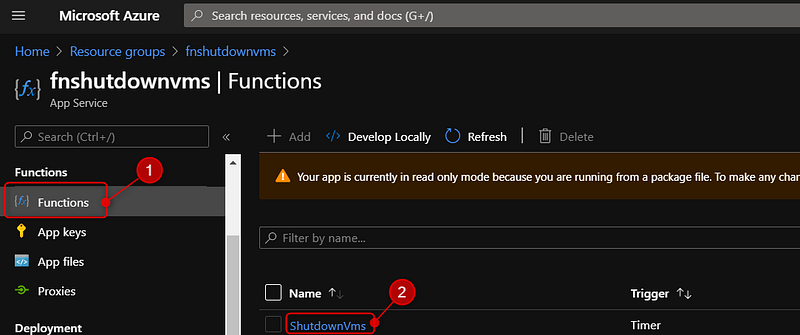

Expand the Logs menu, and check if everything is ok :)
Creating a startup function.
For the startup function, create a new function and in the step to replace the auto-generated code, use the code below:
Conclusion
Thi’s a simple use with one Virtual Machine, but you can expand this, with more complex environments as dependent resources and uses for other resources.
I hope that it can be helpful to you!