How to create a dotnet core project with command line
In this post, we will see how to simply create a dotnet core application using the command line. For that, we will use Windows Terminal with PowerShell, but it is possible to use any terminal for it :)

Installing dotnet core with command line
Install dotnet core with the command line is quite simple. For that, we will use Winget with the command below:
Creating dotnet project in Windows Terminal
For this post, we will use Windows Terminal, but you can use any terminal that you want.
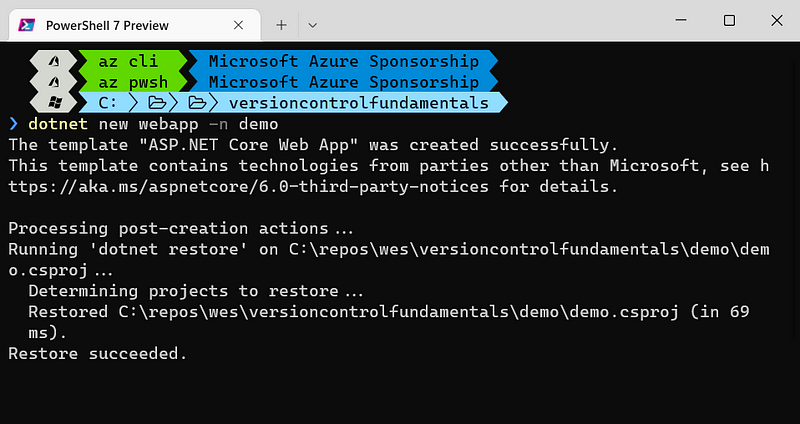
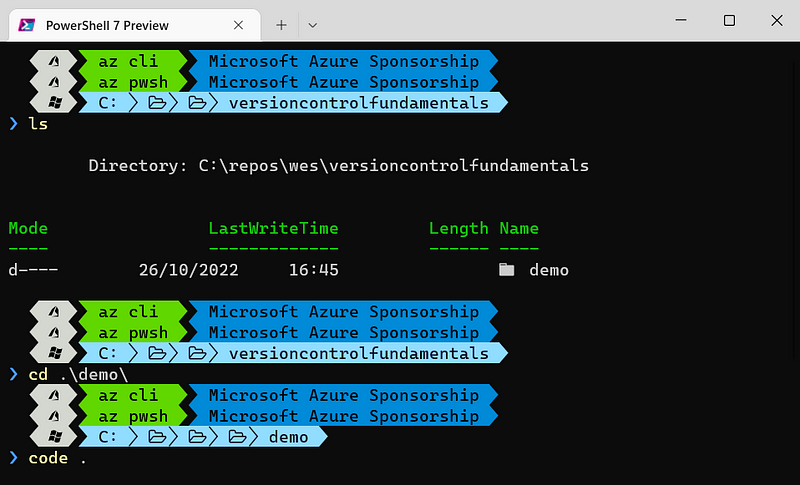
Open the terminal in the directory that you want to create your project and type the command dotnet new webapp -n demo . It will generate a directory called “**demo” **within the project structure.
Enter into the directory created and type code . . This command will open the Visual Studio Code in your project directory:
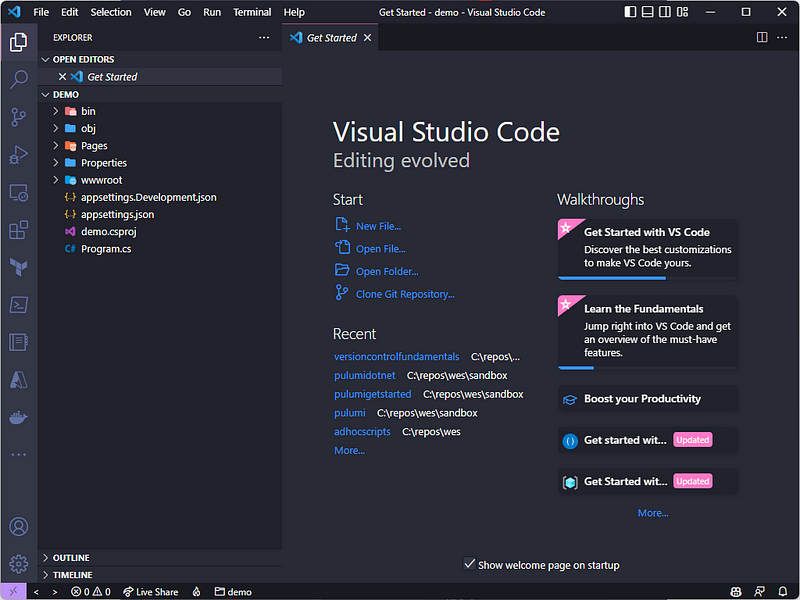
In the VS Code is possible to see the project structure, as we can see below:
How to build and run a dotnet core project locally
Now let’s build our dotnet project to ensure everything is working properly. The easiest way to do that is using the integrated terminal in VS Code.
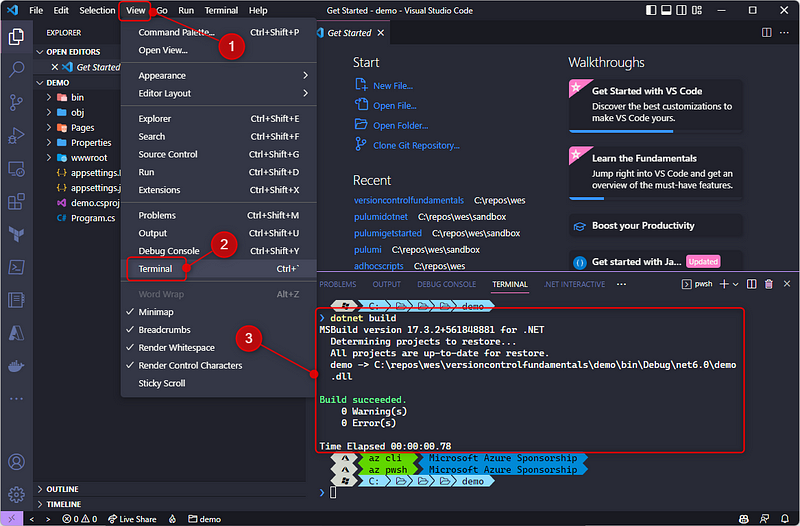
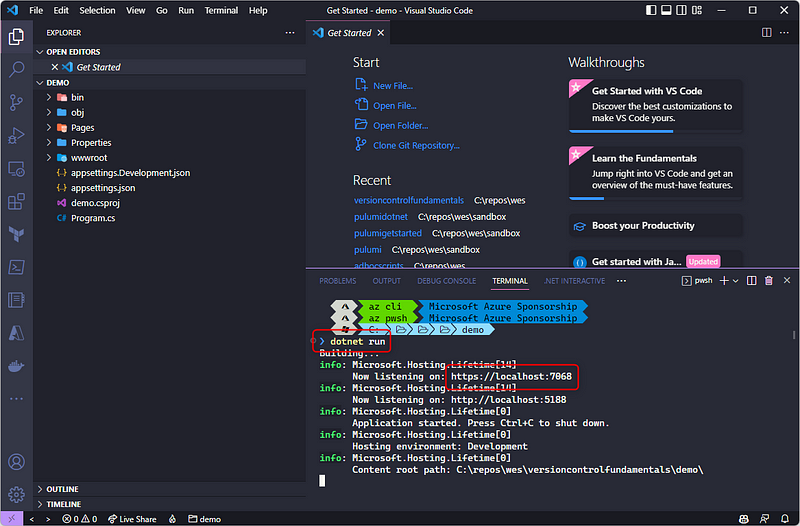
To open the terminal type ctrl + `` or go to **View > Terminal. **In the terminal that will appear at the bottom of your VS Code, type the command dotnet build` . If everything goes well you should see the **Build succeeded **message.
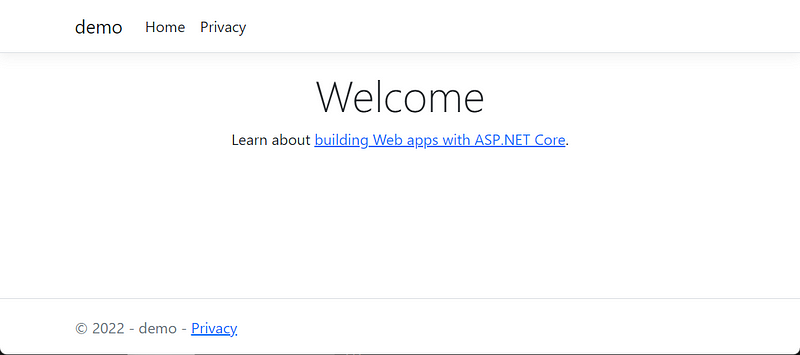
We can now run our web app with the command dotnet run . It will start the web app locally in some ports. You can copy one of them and open it on your browser:
Conclusion
In further posts, we will see more about DevOps practices, and having a real application to start with is crucial to understand all the steps that will be applied in a real-life scenario.
I hope this post could be useful and see you in the next one!